How to Measure for a 60 Inch Sliding Glass Door?
Choosing a 60 Inch Sliding Glass Door begins with accurate measurements, not assumptions. The stated size usually refers to the door unit, while the required opening may be slightly larger. A few millimeters can affect installation, weather sealing, and smooth operation.
Tom Silva, a veteran general contractor known for his work on This Old House, follows a practical rule: “Measure twice, cut once.” That advice matters here. Measure the opening width at the top, middle, and bottom. Record the smallest number. Then measure the height on both sides and in the center. Again, use the smallest measurement. Floors and walls are rarely perfectly level.
Do not overlook the wall depth. A 60 Inch Sliding Glass Door needs enough space for its frame, rollers, trim, and drainage details. Check whether the existing sill is level. Place a long level across it and look for gaps beneath the tool. Use a tape measure, level, and straightedge. Take clear photographs too.
Small details matter.
This guide explains how to measure before ordering, including the rough opening, frame depth, panel configuration, and clearance. It also highlights common mistakes, such as measuring the old glass instead of the full frame. That mistake is easy to make. I have found that even careful homeowners sometimes record one “perfect” measurement and ignore the other two. Rechecking may feel repetitive, but it protects your budget and installation schedule.
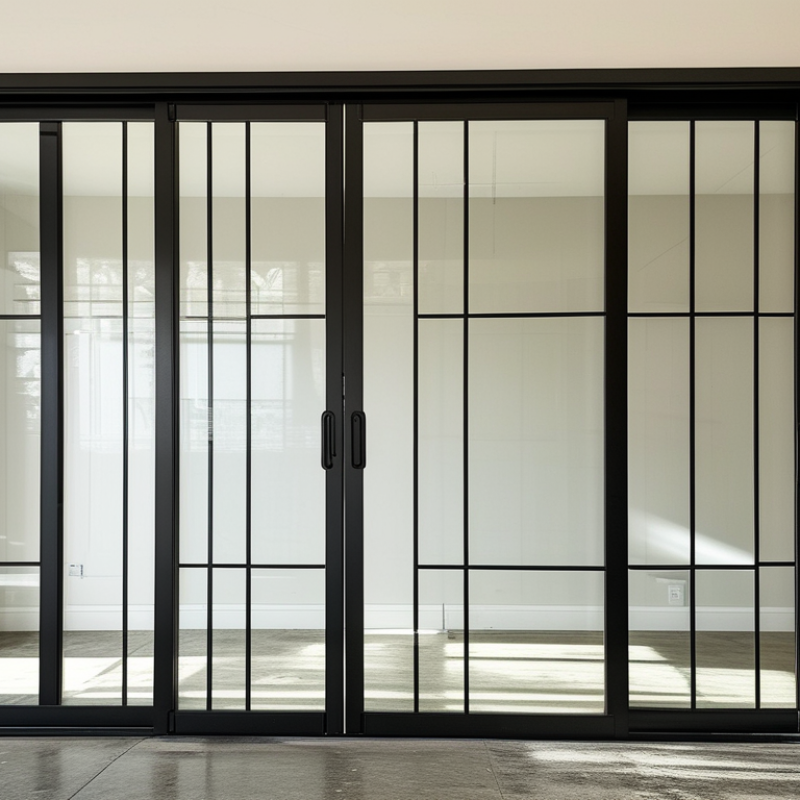
Identify the Door Opening and Existing Frame Type
For a 60 inch sliding glass door, identify the door opening before ordering anything. A nominal size is not the finished size. Measure the width at the top, middle, and bottom. Record the smallest measurement. Repeat the process for height at the left, center, and right. Check both diagonals; a difference of more than 1/4 inch may indicate a racked opening. That detail matters.
Inspect the existing frame carefully. A nail-fin frame has an exterior flange hidden beneath siding or trim. A flush-fin frame sits over the wall surface and usually suits replacement work. A pocket frame leaves the old outer frame in place, while a full-frame replacement removes it. Measure the clear opening, not the moving panel. This is where my early measurements failed. I measured glass instead of the frame.
The U.S. Department of Energy reports that windows can cause 25–30% of residential heating and cooling energy use (DOE Energy Saver, updated 2023). Poor frame alignment can increase drafts and reduce door performance. The National Fenestration Rating Council also evaluates whole-product U-factor, not glass alone (NFRC Product Directory). Keep the frame type, sill condition, wall thickness, and drainage path in your notes. Do not force a 60-inch unit into an opening without checking the manufacturer’s required rough-opening clearance. A small mistake becomes expensive.
Measure the Width at Multiple Points
How to Measure for a 60 Inch Sliding Glass Door?
Measure the width at the top, middle, and bottom of the opening. Use a sturdy steel tape, not a flexible sewing tape. Record each measurement to the nearest 1/8 inch. A 60-inch sliding glass door may require a different rough opening, depending on its frame and installation method.
Hold the tape between the left and right jambs. Keep it level while measuring. Check the width near the floor, across the center, and just below the header. Walls can shift slightly, especially in older homes. The smallest measurement matters most. It prevents a frame from binding during installation. I have seen openings vary by more than 1/4 inch. That difference can create serious fitting problems.
Remove loose trim before measuring if it hides the jambs. Measure from solid framing, not from decorative casing. Check both faces of the wall as well. If the numbers disagree, inspect the opening with a level. It may be out of square. Do not force the door size to match an uneven opening. A professional installer can confirm whether shimming or structural correction is needed. Measure twice. I still recheck the bottom after flooring is installed, because tile, wood, or carpet can change the finished height and affect the final fit.
How to Measure for a 60 Inch Sliding Glass Door?
Measure the opening width at the top, middle, and bottom. Use the narrowest measurement when confirming whether a nominal 60-inch sliding glass door will fit.
Example result: The narrowest measurement is 59.75 inches at the bottom, so the opening is slightly narrower than 60 inches and may require additional clearance or adjustment before installation.
Measure the Height from Sill to Header
How to Measure for a 60 Inch Sliding Glass Door?
Measure the Height from Sill to Header
Measure the vertical opening from the finished sill to the underside of the header. Do not measure the old door panel. Use a rigid steel tape for better accuracy. Take three readings: left, center, and right. Record the smallest measurement. Older walls often settle, so these numbers may disagree. That detail matters.
The 2021 International Residential Code requires openings to transfer structural loads safely, while the U.S. Department of Energy’s Building America guidance recommends checking openings at multiple points. A 60-inch nominal door may not match a 60-inch clear opening. Measure the sill after flooring, tile, or a threshold is installed. Leave the manufacturer’s required installation clearance. Guessing here is expensive, and I have seen a nearly correct measurement fail during installation.
Tips: Keep the tape vertical. Use a level to check the header and sill. If the three height readings differ by more than 1/4 inch, inspect the framing before ordering. Write down the smallest height, the sill material, and the finished floor thickness. Consider measuring again the next day. It sounds excessive, but rushed measurements are common. Review the door’s technical sheet, because clearance requirements vary by design and installation method.
Confirm the Final Dimensions for a 60-Inch Door
For a 60-inch sliding glass door, confirm the final dimensions before ordering or preparing the opening. The “60-inch” label often describes a nominal door size, not the exact frame size. Check the product specification carefully. A small difference can affect the installation.
Measure the existing opening at the top, middle, and bottom. Record the narrowest width, not the largest one. Then measure height near both sides and at the center. Use the shortest height. Check the floor with a level, because uneven flooring can reduce the usable height. Also measure the wall depth and inspect nearby trim, baseboards, and handles.
Write down every measurement in inches, including fractions. Measure twice. Then compare your notes with the required rough opening dimensions. Do not assume a 60-inch door needs a 60-inch opening. The frame, rollers, seals, and adjustment space may require additional width or height. Confirm whether the listed dimensions include the frame. This detail is easy to miss.
Leave practical clearance for shimming and adjustment. A tight opening may look efficient, but it can make the panels bind during operation. I have seen careful measurements fail because the floor was not level. That mistake deserves attention. Before final confirmation, verify the opening is square by comparing both diagonal measurements. If they differ noticeably, correct the framing or ask a qualified installer to review it. Keep the final dimensions and specification sheet together for accurate ordering.